


By Scott Patchan
- Learn how to safely cut fiberglass conduit in the field using common tools.
- Review recommended tools, PPE, and best practices for a smooth installation.
- Discover how Champion Fiberglass® conduit offers faster, cleaner cuts than traditional materials.
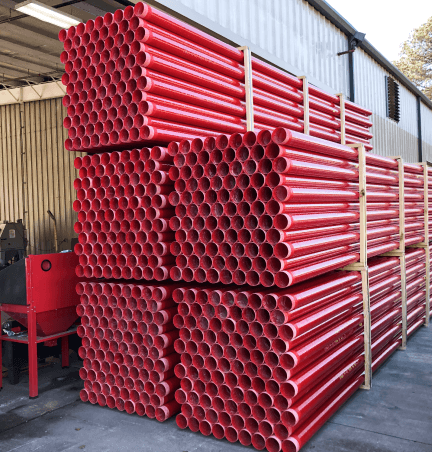
Champion Fiberglass RTRC electrical conduit is known for its seamless installation. With proper PPE and a few common hand power tools, contractors can achieve fast, smooth, and simple installations thanks to the product’s light weight, portability, and ease of cutting in the field.
It is important to note that the following guidelines must be verified by the contractor or installer and approved by the engineer of record. It is imperative to read and understand all information and instructional manuals for the safe use of any equipment or tool mentioned in this article. Failure to understand and allow the safe operation of any equipment or tool could result in an accident causing serious injury or death.

Fiberglass Cutting Tool Recommendations
Suggested field cutting tools for fiberglass conduit include:
- A hand-held hacksaw with a fine-tooth blade, very portable and commonly available in the field.
- A portable bandsaw, common to job sites where metal conduit is being cut.
- A chop saw with a diamond cutting blade, for cleaner, more precise cuts and reduced overall cutting time.
- An abrasive blade cutter, very portable and much faster than using a hand-held hacksaw.
A SawzallⓇ is not recommended for cutting fiberglass conduit as the high speed reciprocation can damage the conduit.
Preparation & Protection
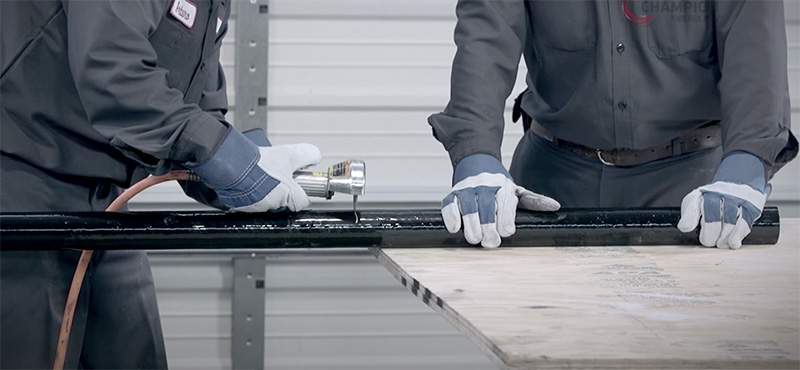
It is always important to follow safety protocol at installation. To prevent accidents, ensure that the following PPE is on hand to protect skin, hands, eyes, and lungs:
- Long-sleeved clothing, such as a long-sleeve shirt
- Gloves
- Safety glasses
- Particulate respirator mask (N95)
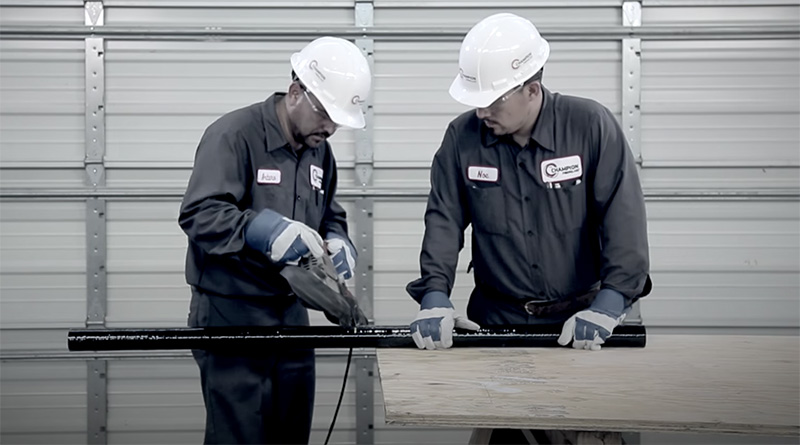
How to Cut RTRC Conduit in the Field
- Ensure proper safety equipment is used.
- Measure the conduit to your desired length and mark the fiberglass conduit cut lines with a contrasting colored marker.
Pro Tip: Be sure to measure and mark your cutting points at a minimum of three inches to each end of the conduit for installing coupling or termination fittings. - Cut at cut lines using one of the following commonly-used field cutting tools:
- A chop saw with a diamond cutting blade
- An abrasive blade cutter
- A porta-band saw
- A hand-held hacksaw with a fine-tooth blade
- After cutting at your pre-measured marks, remove loose fibers from the cut surfaces.
- Remove any cutting burrs or ridges by sanding and deburring (additional sanding is only necessary when the pre-sanded factory end of the conduit has been removed).
- Using the fiberglass fitting, verify the outside diameter of the conduit.
- Remove any remaining cutting burrs or ridges with a 60-grit emery cloth before bonding.
For additional installation information refer to the Champion Fiberglass full library of Fiberglass Conduit Video Installation Guides, which includes installation videos, FAQs, and best practices for cutting, bending, and bonding fiberglass conduit.

Why Champion Fiberglass
Fast, easy, and safe installation is part of what makes Champion Fiberglass conduit (RTRC conduit) an exceptional product compared to other conduit types including PVC-coated rigid steel & GRC conduits. The NECA Manual of Labor Rates documents that it is installed faster than most other conduit types.
See it in action:

Learn how ease of field cutting led to a seamless installation when a Texas chemical company replaced PVC-coated steel conduit for improved system longevity.
A Conduit Solution for Every Industry
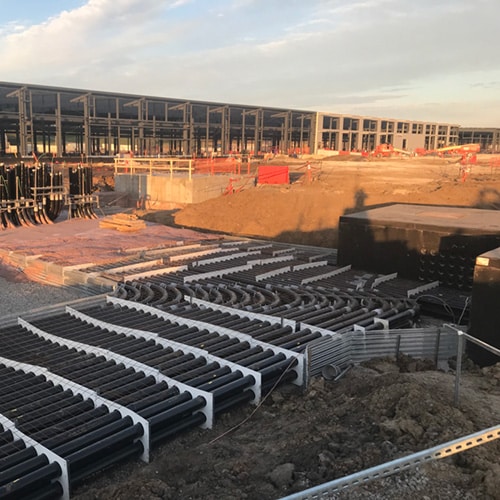
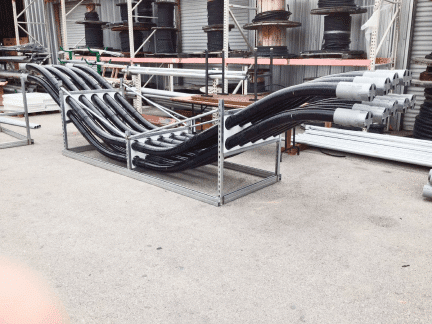
Champion Fiberglass provides a strong, corrosion-resistant conduit that has been used successfully across various applications, including bridges and tunnels, data centers, utilities, wastewater treatment, chemical plants, and mining.
See it in action:
When Washington Metropolitan Area Transit Authority (WMATA) scheduled an upgrade to existing approach lighting at Reagan National Airport, Champion Strut™ proved easy to field cut and drill, facilitating a smoother, faster installation.
For more information about the Champion Fiberglass products please connect with a local rep or contact us directly.
This article was originally published on November 16, 2022 and recently updated with new and helpful information.