


Installation Videos
Video Installation Guides
These video guides offer two-minute overviews to the most common Champion Fiberglass installations in easy-to-follow, step-by-step instructions.

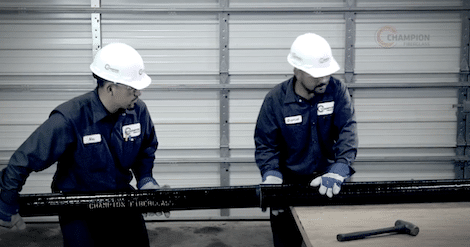
Field Cutting
Learn how to field cut Champion Fiberglass conduit, and how to prepare and make adhesive joints.
Gasket Joint Insertion
Learn how to field cut Champion Fiberglass conduit, and how to prepare and make adhesive joints.
Interference and Gasket Joint Assembly
Learn how to assemble the interference joint connection.
Interference and Adhesive Joint Assembly
Learn how to assemble the interference joint connection.

Bonding Phenolic Conduit
Learn how to assemble phenolic conduit sections.

Champion Fiberglass Split Anchor Rings
Learn how to install split anchor rings.
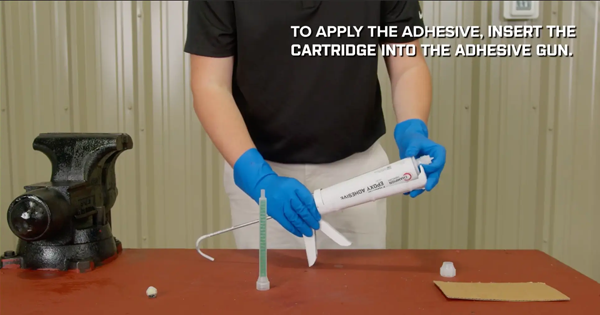
Fiberglass Conduit Epoxy Adhesive
See how easy epoxy adhesive is to join conduit and couplings in this instructional video.
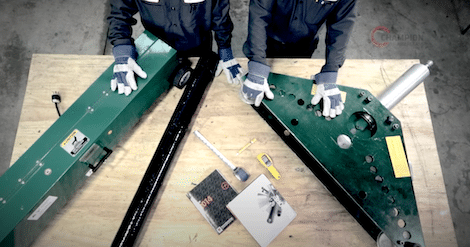
Bending Epoxy Conduit
Learn how to field bend epoxy conduit, including the tools you’ll need and tips to ensure great results.
Video Installation Guides
These video guides offer two-minute overviews to the most common Champion Fiberglass installations in easy-to-follow, step-by-step instructions.
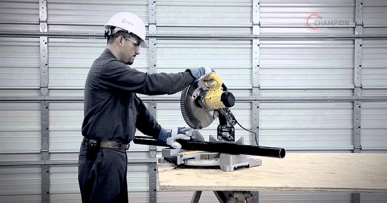
FIELD CUTTING
Learn how to field cut Champion Fiberglass conduit, and how to prepare and make adhesive joints.
GASKET JOINT INSERTION
Learn how to field cut Champion Fiberglass conduit, and how to prepare and make adhesive joints.
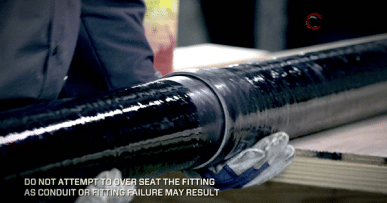
INTERFERENCE AND GASKET JOINT ASSEMBLY
Learn how to assemble the interference joint connection.
INTERFERENCE AND ADHESIVE JOINT ASSEMBLY
Learn how to assemble the interference joint connection.
BONDING PHENOLIC CONDUIT
Learn how to assemble phenolic conduit sections.
CHAMPION FIBERGLASS SPLIT ANCHOR RINGS
Learn how to install split anchor rings.
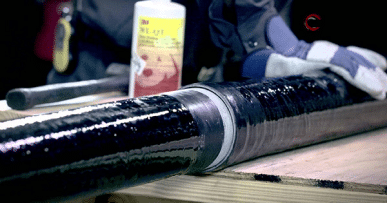
FIBERGLASS CONDUIT EPOXY ADHESIVE
See how easy epoxy adhesive is to join conduit and couplings in this instructional video.
BENDING EPOXY CONDUIT
Learn how to field bend epoxy conduit, including the tools you’ll need and tips to ensure great results.
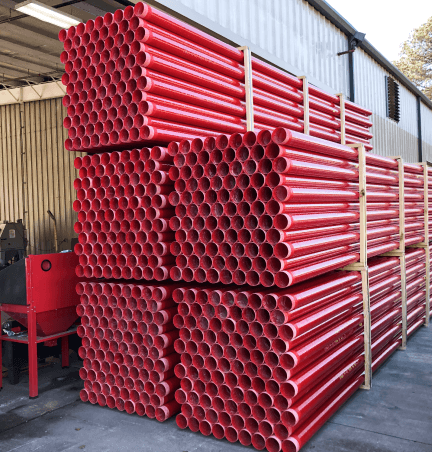
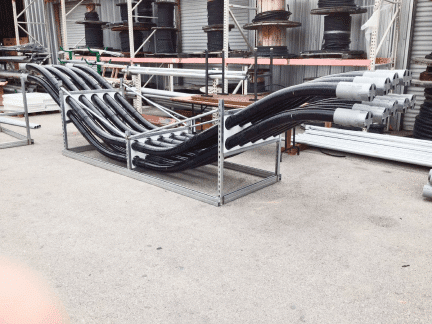
EXPANDABLE UTILITY RISERS
New Champion Fiberglass® Expandable Utility Risers adapt on-site with height adjustability, no cutting, and resistance to extreme conditions.
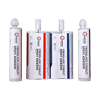
FIBERGLASS REPAIR KIT
The Champion Duct™ Fiberglass Repair Kit includes a strong knitted tape, precoated with fast setting water-activated urethane resin.